Introduction
If you are looking for a simple, cheap data pipeline to pull small amounts of data from a stable API and store it in a cloud storage, then serverless functions are a good choice. This post aims to answer questions like the ones shown below
My company does not have the budget to purchase a tool like
fivetran, What should I use to pull data from an API ?
Do I really need an orchestration tool like Airflow for one simple data pull from an API ?
In the post we cover what a serverless function can and cannot do, what its pros and cons are and walk through a simple API data pull project.
Serverless Functions
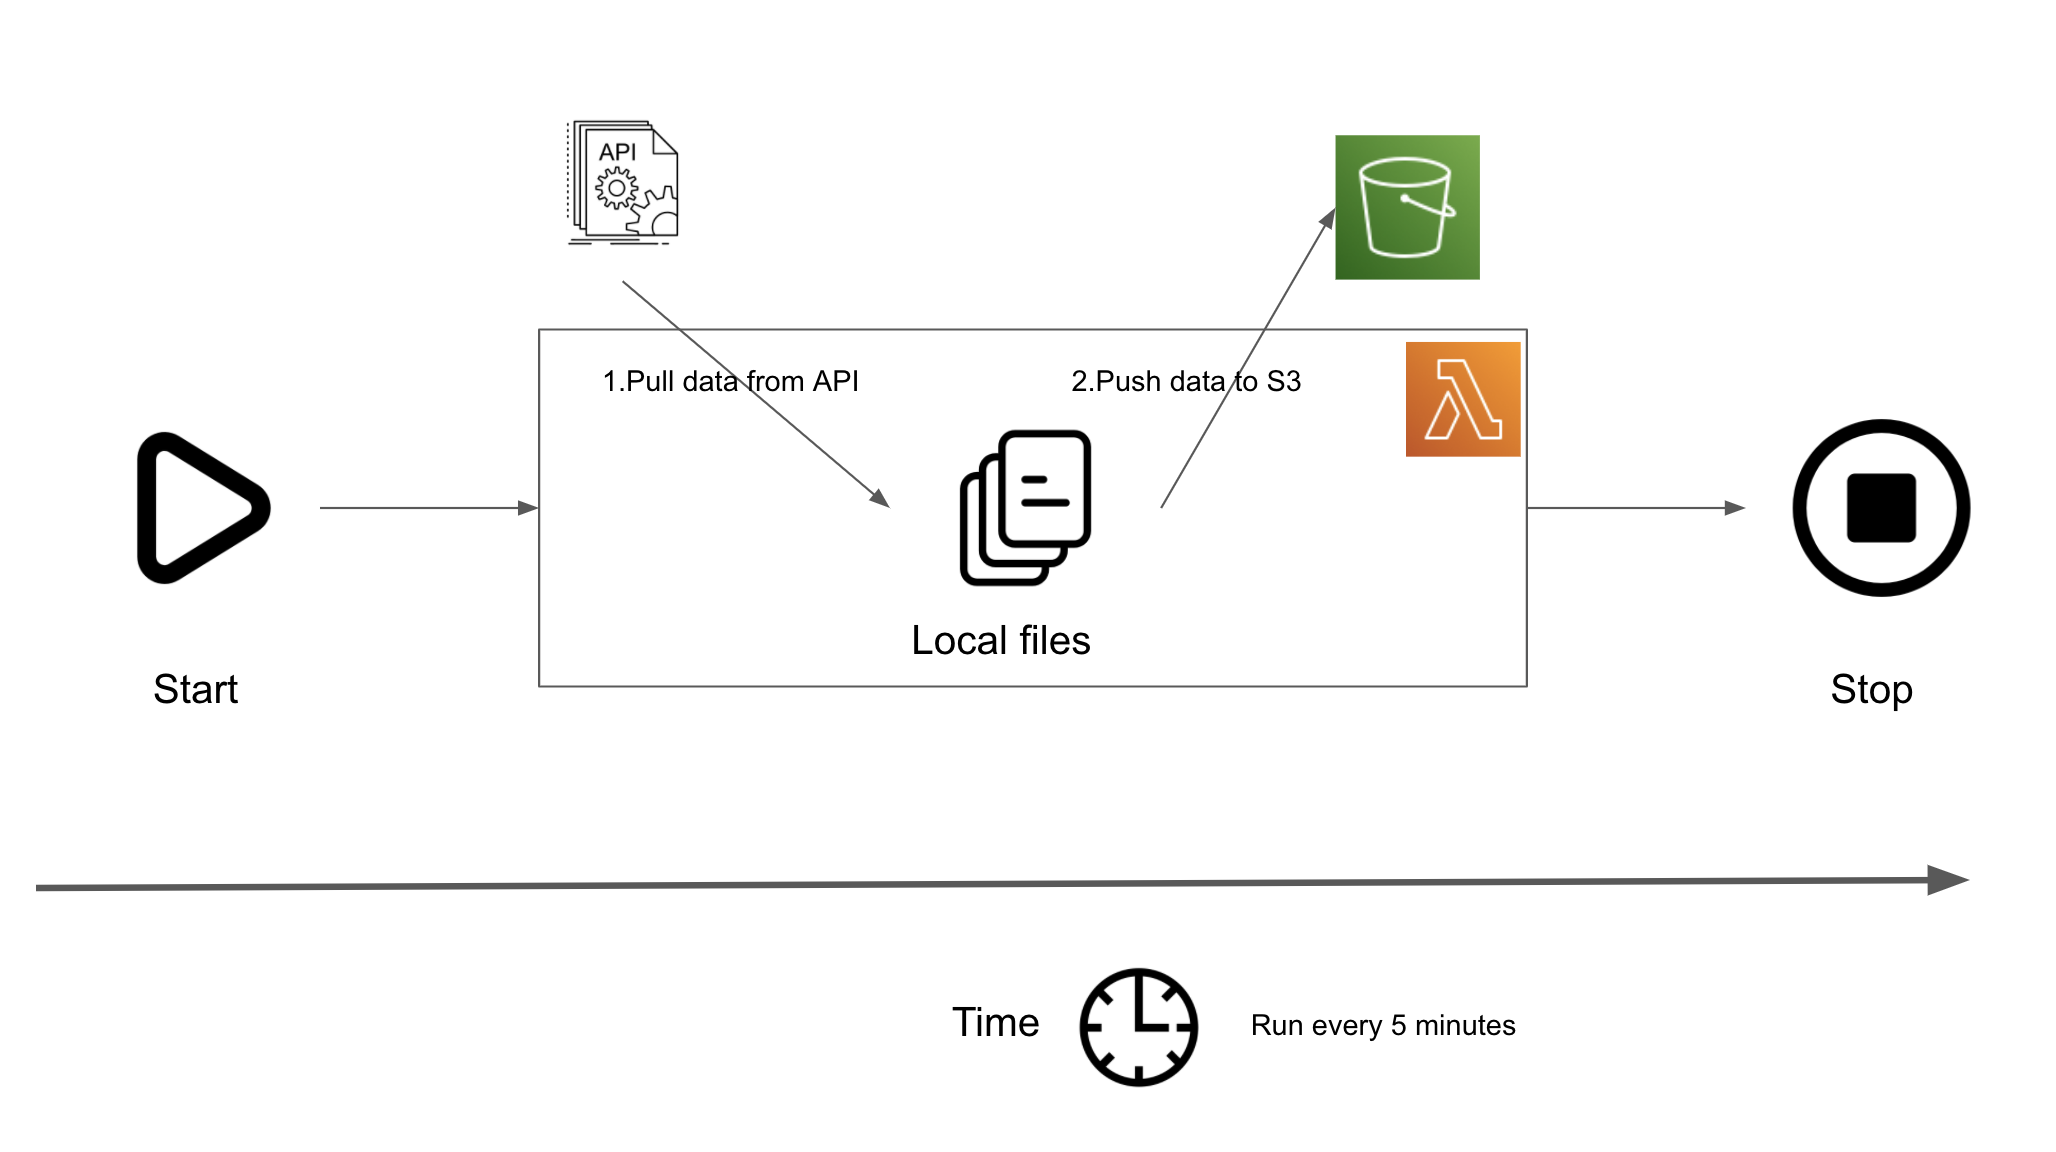
Chances are that you have heard of the term serverless. The term serverless may be misleading. In fact, there is a server on which your code will be running. Serverless refers to the fact that you do not have to manage any servers, but just the code. We will use AWS Lambda for this simple project. AWS Lambda can be used to run a function without having to provision and maintain a server.
You write a function and deploy it to AWS Lambda. There you can set the function to run based on external triggers. The lambda function will execute the logic and end. Note that you will have a limited time (current max execution time for lambda code execution is 15min) for your code logic to complete. There is also a limit on the memory size(current max is at 3.008GB). In this post we will
- Start the lambda function.
- Download data from a dummy API to local file system.
- Copy the downloaded files to AWS S3.
- Stop the lambda function.
- The lambda function will be scheduled to run every 5 minutes.
Project Overview
Let’s assume you work for a company that wants to pull some data from an API that you have access to and assess the quality of that data. Your responsibility is to pull this data and make it available via cloud storage for other systems to consume and assess quality. Let’s assume that this is your first and only data pull(for now). There is not enough time/ money to set up/buy a data orchestration tool. This project is to validate the value that this data may provide, based on which your company can choose to either continue paying for this data or not.
Data Pipeline
Prerequisites
- AWS Account
- AWS CLI installed and configured
API Documentation
Let us assume that our API has the following documentation.
- API endpoint: GET
http://jsonplaceholder.typicode.com/poststo get user post data. - Query parameters: The data returned from the API is sorted by user_id. Using
start_user_idandend_user_idwe can query for a range of data based on user ids. - API metadata endpoint: GET
http://jsonplaceholder.typicode.com/number_of_users, will return the total number of user posts.
The GET endpoint will return a list of JSON with the format
Paginate
When pulling a “lot” of data from an API, it is general best practice to make multiple requests to pull data in chunks. The definition of a lot of data depends on the amount of data being pulled and the API stability. Based on the API Documentation above, we need to
- Get the total number of user posts.
- Split the number into N number of calls, depending on a predefined
CHUNKsize. Which is the amount of data you want to pull per API call. - Make the API call, pull the data and write it to a local disk storage. You can also store in memory if the data size is sufficiently small.
- Some APIs may fail due to network or other issues, add a retry parameter to account for this. In reality this will depend on the stability of the API and the network.
Note: Depending on the size of data and the allocated lambda memory, it may be more efficient to keep data in memory instead of writing to disk and then uploading to S3.
Lets create a folder called dataPull in your project directory and within it a python script called lambda_function.py, starting with the content below
CHUNK_SIZE = 10000  # determined based on API, memory constraints, experimentation


def get_num_records():
    # Dummy function, to replicate GET http://jsonplaceholder.typicode.com/number_of_users call
    return 100000


def get_data(
    start_user_id, end_user_id, get_path="http://jsonplaceholder.typicode.com/posts"
):
    http = urllib3.PoolManager()
    data = {"userId": None, "id": None, "title": None, "body": None}
    try:
        r = http.request(
            "GET",
            get_path,
            retries=urllib3.util.Retry(3),
            fields={"start_user_id": start_user_id, "end_user_id": end_user_id},
        )
        data = json.loads(r.data.decode("utf8").replace("'", '"'))
    except KeyError as e:
        print(f"Wrong format url {get_path}", e)
    except urllib3.exceptions.MaxRetryError as e:
        print(f"API unavailable at {get_path}", e)
    return data


def parse_data(json_data):
    return f'{json_data.get("userId")},{json_data["id"]},"{json_data["title"]}"\n'


def write_to_local(data, part, loc="/tmp"):
    file_name = loc + "/" + str(part)
    with open(file_name, "w") as file:
        for elt in data:
            file.write(parse_data(elt))
    return file_name


def download_data(N):
    for i in range(0, N, CHUNK_SIZE):
        data = get_data(i, i + CHUNK_SIZE)
        write_to_local(data, i // CHUNK_SIZE)
In the above code snippet, we have the functions
get_num_recordsto simulate the GET call to your API to get the total number of user posts.download_datato make multiple calls to the API and only accessing 10,000 data records per API data pull. This 10,000 is defined as a global variableCHUNK_SIZE. In your project you will need to determine what this size is depending on API stability, memory constraints, network connection and general best practice size for that API.parse_datato convert the json data into a row format string, which gets written to a local file.write_to_localto write the downloaded chunk of data into the local file system. In our case if we have 100,000 records we will generate 10 files name0, 1, 2, 3, 4, 5, 6, 7, 8, 9with the data for user ids0-10000, 10000-20000,...90000-100000correspondingly. Note the local file system location/tmpwill only be available for the duration of a single run of your function.
Concurrency
In the above snippet, since we are downloading chunks independently we can also make it concurrent using python’s asyncio library. If you are using concurrency be very aware of the number of open connections/ file handlers, etc. You can also manage concurrency at the lambda function level as shown here.
Note some API may not provide the exact number of records, instead you will have to query until no more data is available (usually using some sort of search_after query parameter). In such cases concurrency will be difficult to achieve since you will need the output from the previous call to make the next API call. An example of this is ElasticSearch's search_after. There is also the from, size type API endpoints which requires the size of data to pull and an id from which to start pulling data as query parameters to the API call.
Writing to AWS S3
Since lambda functions are temporary, so are their local storage. We need to make sure our locally stored data (at /tmp) gets stored in a persistent storage system such as AWS S3. Add the below code to lambda_function.py.
import boto3
from datetime import datetime, timezone
import json
from os import listdir
from os.path import isfile, join
import urllib3

s3_client = boto3.client("s3")
LOCAL_FILE_SYS = "/tmp"
S3_BUCKET = "your-s3-bucket"  # please replace with your bucket name
CHUNK_SIZE = 10000  # determined based on API, memory constraints, experimentation


def _get_key():
    dt_now = datetime.now(tz=timezone.utc)
    KEY = (
        dt_now.strftime("%Y-%m-%d")
        + "/"
        + dt_now.strftime("%H")
        + "/"
        + dt_now.strftime("%M")
        + "/"
    )
    return KEY


def get_num_records():
    # Dummy function, to replicate GET http://jsonplaceholder.typicode.com/number_of_users call
    return 100000


def get_data(
    start_user_id, end_user_id, get_path="http://jsonplaceholder.typicode.com/posts"
):
    http = urllib3.PoolManager()
    data = {"userId": None, "id": None, "title": None, "body": None}
    try:
        r = http.request(
            "GET",
            get_path,
            retries=urllib3.util.Retry(3),
            fields={"start_user_id": start_user_id, "end_user_id": end_user_id},
        )
        data = json.loads(r.data.decode("utf8").replace("'", '"'))
    except KeyError as e:
        print(f"Wrong format url {get_path}", e)
    except urllib3.exceptions.MaxRetryError as e:
        print(f"API unavailable at {get_path}", e)
    return data


def parse_data(json_data):
    return f'{json_data.get("userId")},{json_data["id"]},"{json_data["title"]}"\n'


def write_to_local(data, part, loc=LOCAL_FILE_SYS):
    file_name = loc + "/" + str(part)
    with open(file_name, "w") as file:
        for elt in data:
            file.write(parse_data(elt))
    return file_name


def download_data(N):
    for i in range(0, N, CHUNK_SIZE):
        data = get_data(i, i + CHUNK_SIZE)
        write_to_local(data, i // CHUNK_SIZE)


def lambda_handler(event, context):
    N = get_num_records()
    download_data(N)
    key = _get_key()
    files = [f for f in listdir(LOCAL_FILE_SYS) if isfile(join(LOCAL_FILE_SYS, f))]
    for f in files:
        s3_client.upload_file(LOCAL_FILE_SYS + "/" + f, S3_BUCKET, key + f)
In the above code snippet, we have added some global variables and function
s3_client: This is a boto3 s3 client used to programmatically access S3.dt_now: The current date time in UTC.S3_BUCKET: The name of your S3 bucket, please replace this with your bucket name. You will create this bucket in the next section._get_key(): This represents the path within yourS3_BUCKETwhere the data you pulled will be stored. We useYYYY-mm-dd/HH/MMformat, eg the time 2020-11-10 9:14PM would translate to a folder structure of2020-11-10/21/14and since we are pulling data every 5 minutes this will be different for each lambda run. This ensures that runs do not override data and makes our code idempotent based on time of run(provided the API is idempotent as well).lambda_handler: is the entry point for the start of the lambda execution. Here we triggerdownload_datafunction to download data from the API into our local file system. After this the code uploads the downloaded local files to the specified S3 bucket.
Note that the global variables get cached between lambda runs. This is the reason we have a _get_key() function instead of it being a global variable.
Deploy & Schedule Lambda Functions
Now that we have the code ready let’s setup the infrastructure and grant appropriate permissions. Save the below setup script in your project directory as setup_infra.sh
#!/bin/bash

if [[ $# -eq 0 ]] ; then
    echo 'Please enter your bucket name as ./setup_infra.sh your-bucket'
    exit 0
fi

AWS_ID=$(aws sts get-caller-identity --query Account --output text | cat)
AWS_REGION=$(aws configure get region)

echo "Creating local config files"

echo '{
    "Version": "2012-10-17",
    "Statement": [
        {
            "Effect": "Allow",
            "Action": [
                "logs:PutLogEvents",
                "logs:CreateLogGroup",
                "logs:CreateLogStream"
            ],
            "Resource": "arn:aws:logs:*:*:*"
        },
        {
            "Effect": "Allow",
            "Action": [
                "s3:GetObject",
                "s3:PutObject"
            ],
            "Resource": "arn:aws:s3:::'$1'/*"
        }
    ]
}' > ./policy

echo '{
  "Version": "2012-10-17",
  "Statement": [
    {
      "Effect": "Allow",
      "Principal": {
        "Service": "lambda.amazonaws.com"
      },
      "Action": "sts:AssumeRole"
    }
  ]
}' > ./trust-policy.json

echo '[
  {
    "Id": "1",
    "Arn": "arn:aws:lambda:'$AWS_REGION':'$AWS_ID':function:dataPull"
  }
]' > ./targets.json


echo "Packaging local lambda_function.py"
cd dataPull
zip -r ../myDeploymentPackage.zip .
cd ..

echo "Creating bucket "$1""
aws s3api create-bucket --acl public-read-write --bucket $1 --output text > setup.log

echo "Creating Policy"
aws iam create-policy --policy-name AWSLambdaS3Policy --policy-document file://policy --output text >> setup.log

echo "Creating Role"
aws iam create-role --role-name lambda-s3-role --assume-role-policy-document file://trust-policy.json --output text >> setup.log

echo "Attaching Policy to Role"
aws iam attach-role-policy --role-name lambda-s3-role --policy-arn arn:aws:iam::$AWS_ID:policy/AWSLambdaS3Policy --output text >> setup.log

echo "Sleeping 10 seconds to allow policy to attach to role"
sleep 10s

echo "Creating Lambda function"
aws lambda create-function --function-name dataPull --runtime python3.7 --role  arn:aws:iam::$AWS_ID":"role/lambda-s3-role --handler lambda_function.lambda_handler --zip-file fileb://myDeploymentPackage.zip  --timeout 60 --output text >> setup.log

echo "Creating cloudwatch rule to schedule lambda every 5 minutes"
aws events put-rule --name my-scheduled-rule --schedule-expression 'rate(5 minutes)' --output text >> setup.log

echo "Attaching lambda function to event and then to the rule"
aws lambda add-permission --function-name dataPull --statement-id my-scheduled-event --action 'lambda:InvokeFunction' --principal events.amazonaws.com --source-arn arn:aws:events:$AWS_REGION:$AWS_ID:rule/my-scheduled-rule --output text >> setup.log
aws events put-targets --rule my-scheduled-rule --targets file://targets.json --output text >> setup.log

echo "Done"
Your directory structure, should look like the image below

In the above script we do the following
- Package our code
- Create a bucket that we will use for this project
- Create a Policy (Think of a policy as a way to grant permissions to certain service)
- Create a Role (A Role contain multiple policies)
- Attach the Policy from step 3 to the Role from step 4
- Sleep for 10 s to allow the attach to complete
- Upload your code and create a lambda function, with a max run time of 60s
- Set up a schedule for your lambda function to run every 5 minutes
- We write out the output of each command to a file called
setup.login your directory.
Monitor
You can monitor the lambda runs by going to AWS Cloudwatch UI. Log into your AWS Console.
Go to AWS Cloudwatch 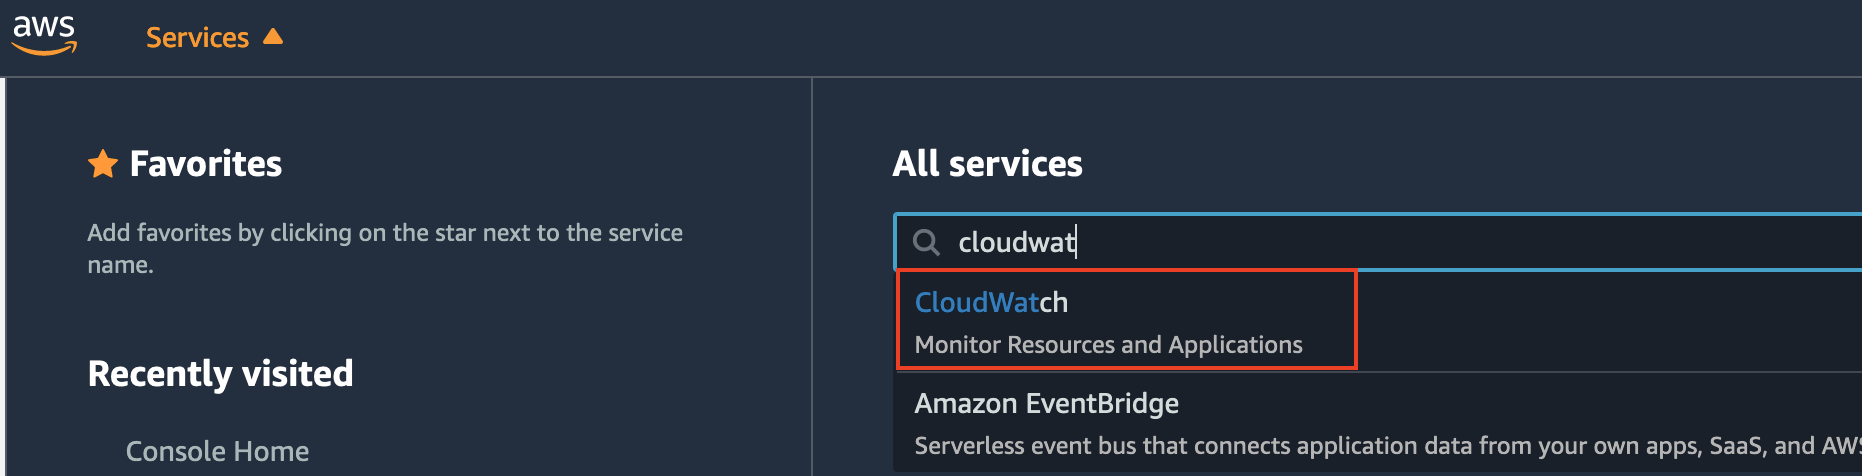
Go to Events -> Rules 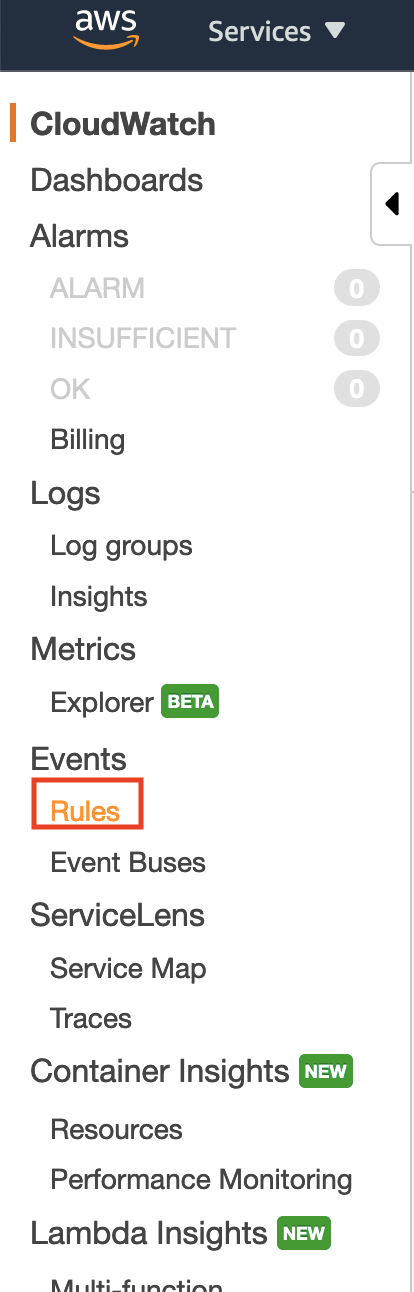
Click on my-scheduled-rules 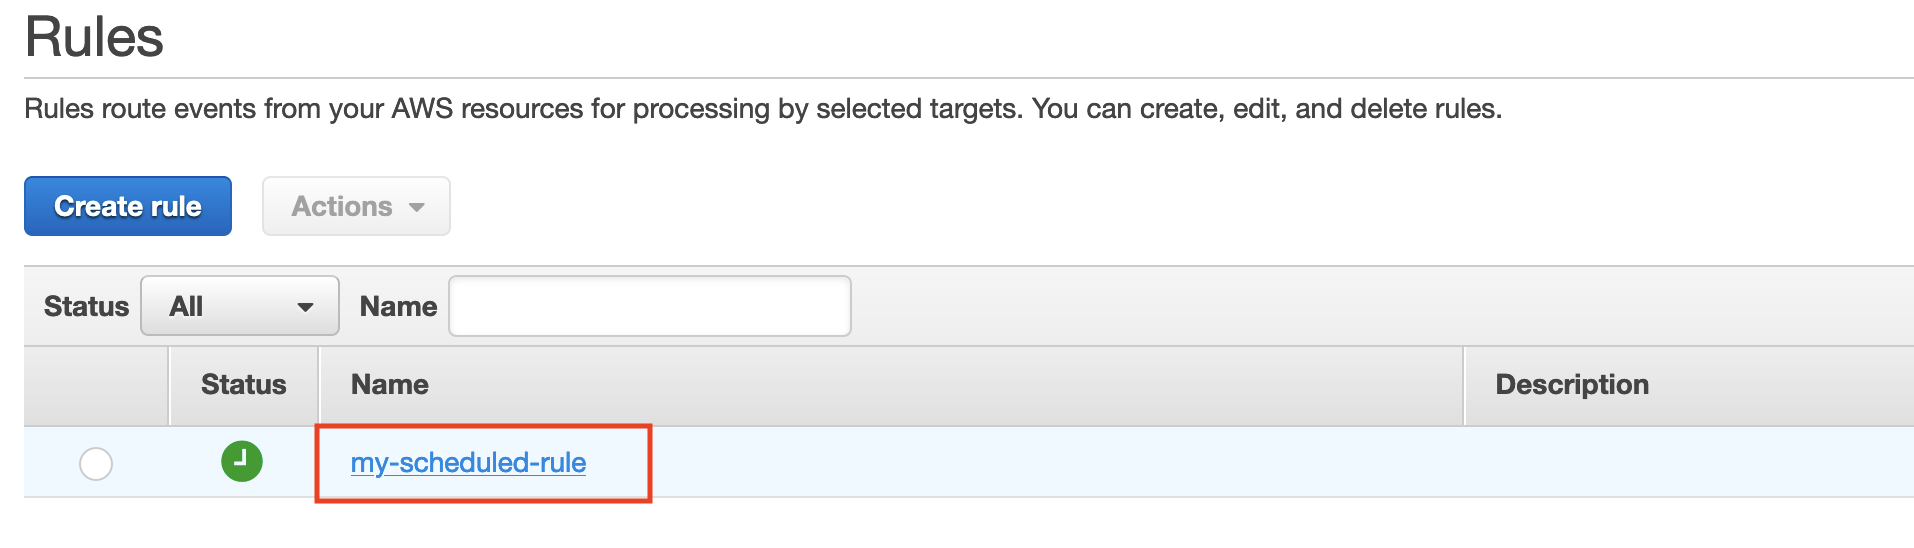
Notice the lambda invocations 
You can also set alerting via AWS Cloudwatch. You can also check the files in your s3 bucket using the command below.
Tear Down
Lets create a script to tear down the infrastructure. Call it tear_down_infra.sh, with the content shown below.
#!/bin/bash

if [[ $# -eq 0 ]] ; then
    echo 'Please enter your bucket name as ./setup_infra.sh your-bucket'
    exit 0
fi

AWS_ID=$(aws sts get-caller-identity --query Account --output text | cat)

echo "Removing Cloudwatch schedule rule"
aws events remove-targets --rule my-scheduled-rule --ids "1" --output text > tear_down.log
aws events delete-rule --name my-scheduled-rule --output text >> tear_down.log
aws lambda delete-function --function-name dataPull --output text >> tear_down.log

echo "Deleting role and policy for lambda - s3 connection"
aws iam detach-role-policy --role-name lambda-s3-role --policy-arn arn:aws:iam::$AWS_ID:policy/AWSLambdaS3Policy --output text >> tear_down.log
aws iam delete-role --role-name lambda-s3-role --output text >> tear_down.log
aws iam delete-policy --policy-arn arn:aws:iam::$AWS_ID:policy/AWSLambdaS3Policy --output text >> tear_down.log

echo "Deleting bucket "$1""
aws s3 rm s3://$1 --recursive --output text >> tear_down.log
aws s3api delete-bucket --bucket $1 --output text >> tear_down.log

echo "Removing local config files"
rm policy
rm targets.json
rm myDeploymentPackage.zip
rm trust-policy.json
rm setup.log
rm tear_down.logThe tear_down_infra.sh script is to tear down the infrastructure that was setup using setup_infra.sh. Make sure to use the same bucket name,
AWS Lambda Pros and Cons, for API data pull
AWS Lambdas are good for quick, simple and small data pulls. But, in general if you are pulling “big” data from an API it is advisable to use an orchestration tool, or AWS Batch or AWS Step services. Note that here we are only talking about AWS Lambda as a tool for pulling data from an API. There are other scenarios for which AWS Lambda serverless functions are the best choice.
Pros
- Cheap, as they are charged per 100ms of use.
- No server maintenance.
- Forces you to write efficient code to keep run time low (Which should be done regardless).
- Quick and easy way to test out simple, scheduled API data pulls on the cloud.
- Easy scheduling, monitoring and alerting via
AWS Cloudwatch. - You can pass input to lambda with
events, see this.
Cons
- Time bound: Currently the maximum number of minutes a lambda function can run is 15 minutes. If your data pull takes longer than that the function will get terminated.
- Space bound: Currently the maximum memory available to a lambda function is 3.008 GB.
- Tricky Backfill: Backfilling data after a service disruption with the API will require manual intervention or custom logic to handle. As opposed to other ETL orchestration tools like
Airflowwhich can be configured more easily.
Conclusion
Hope this article gives you a good idea of the tradeoffs associated with the serverless model in regards to pulling data from an API. Let me know if you have any questions/comments in the comment section below.